EVERYTHING YOU NEED TO KNOW ABOUT CLIP-IN HAIR EXTENSIONS
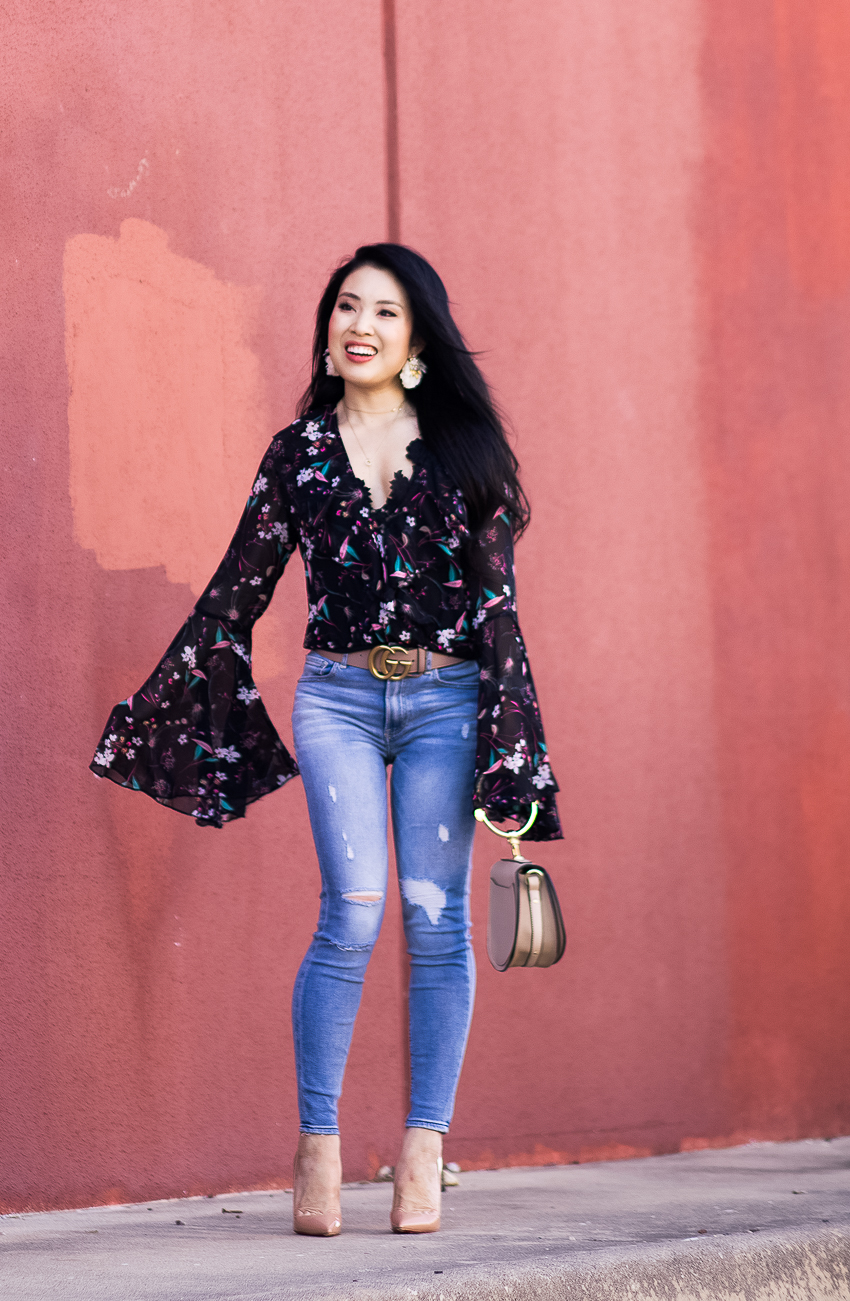
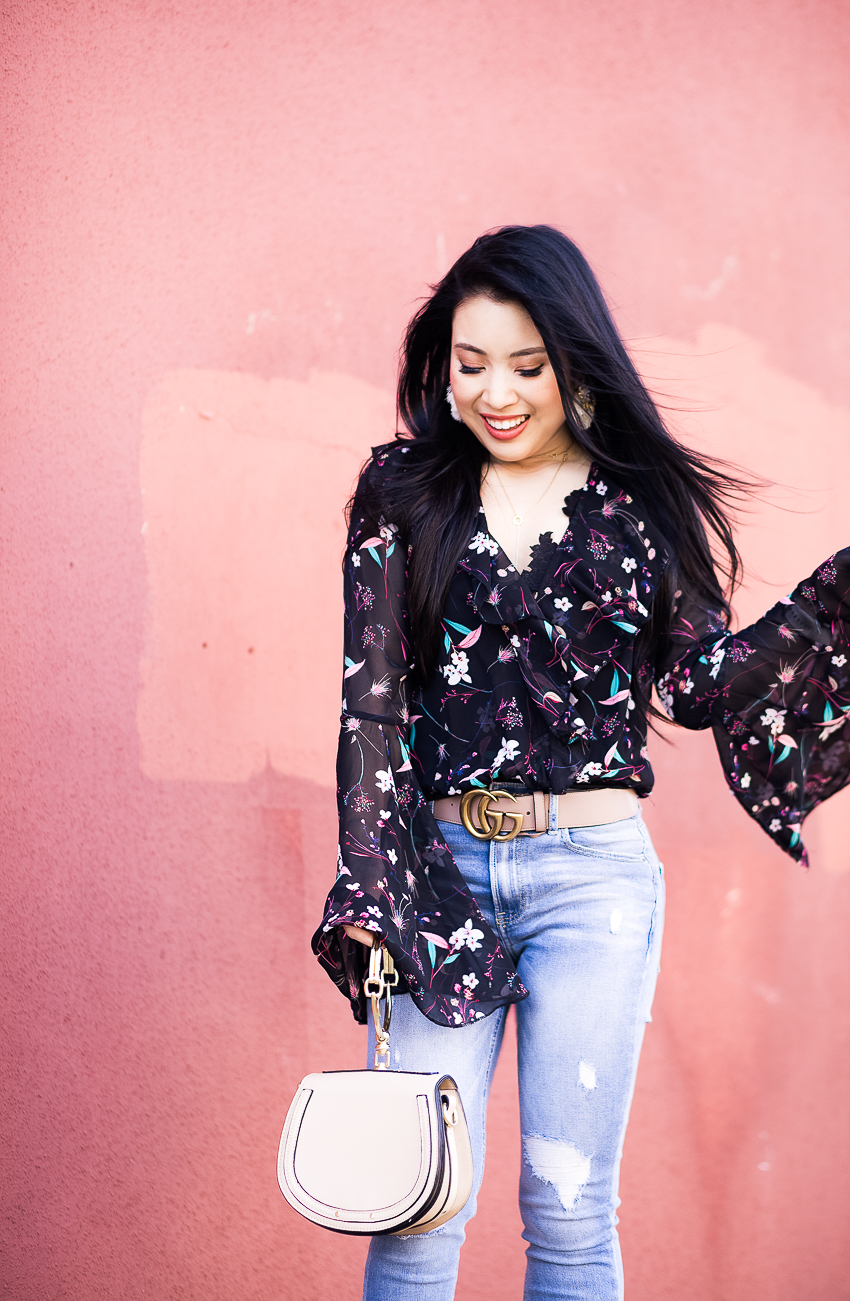
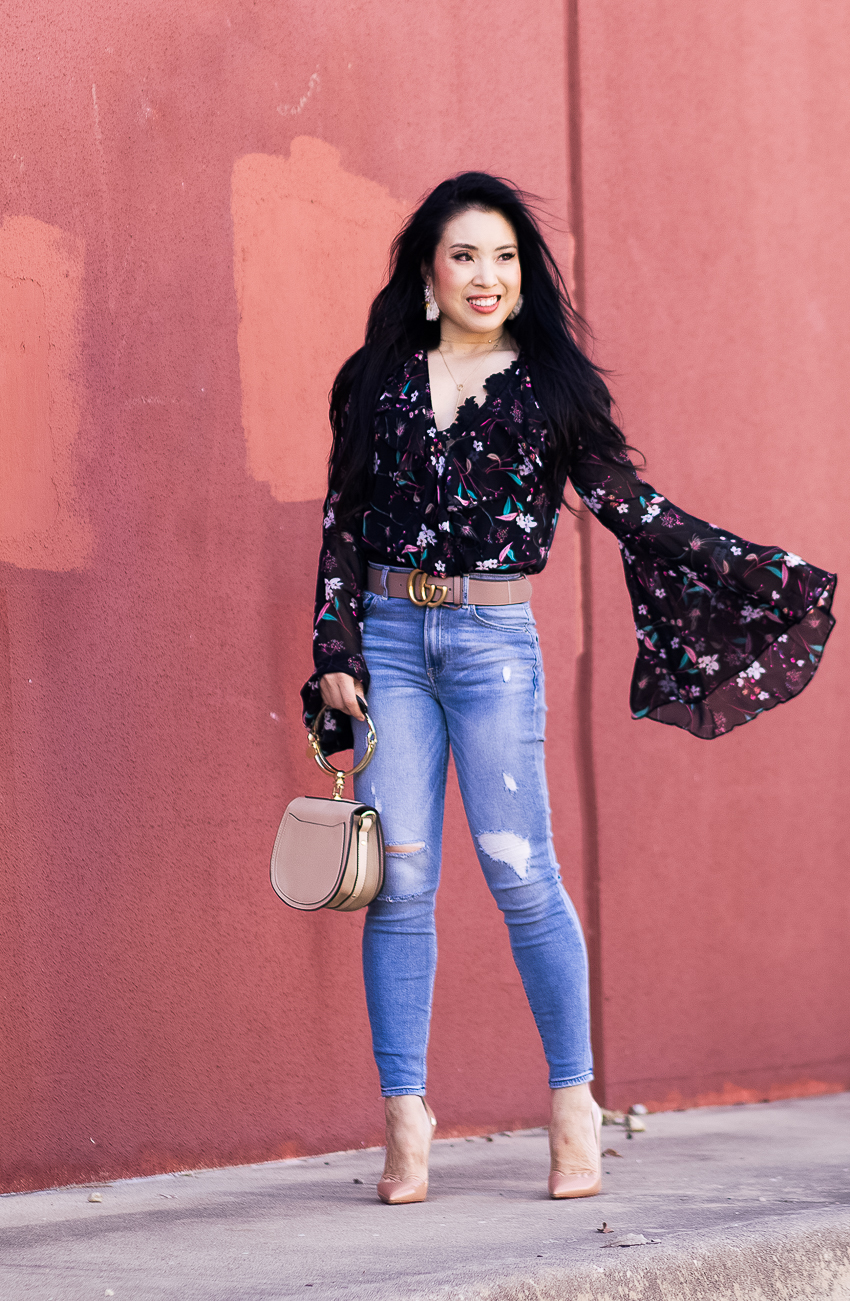
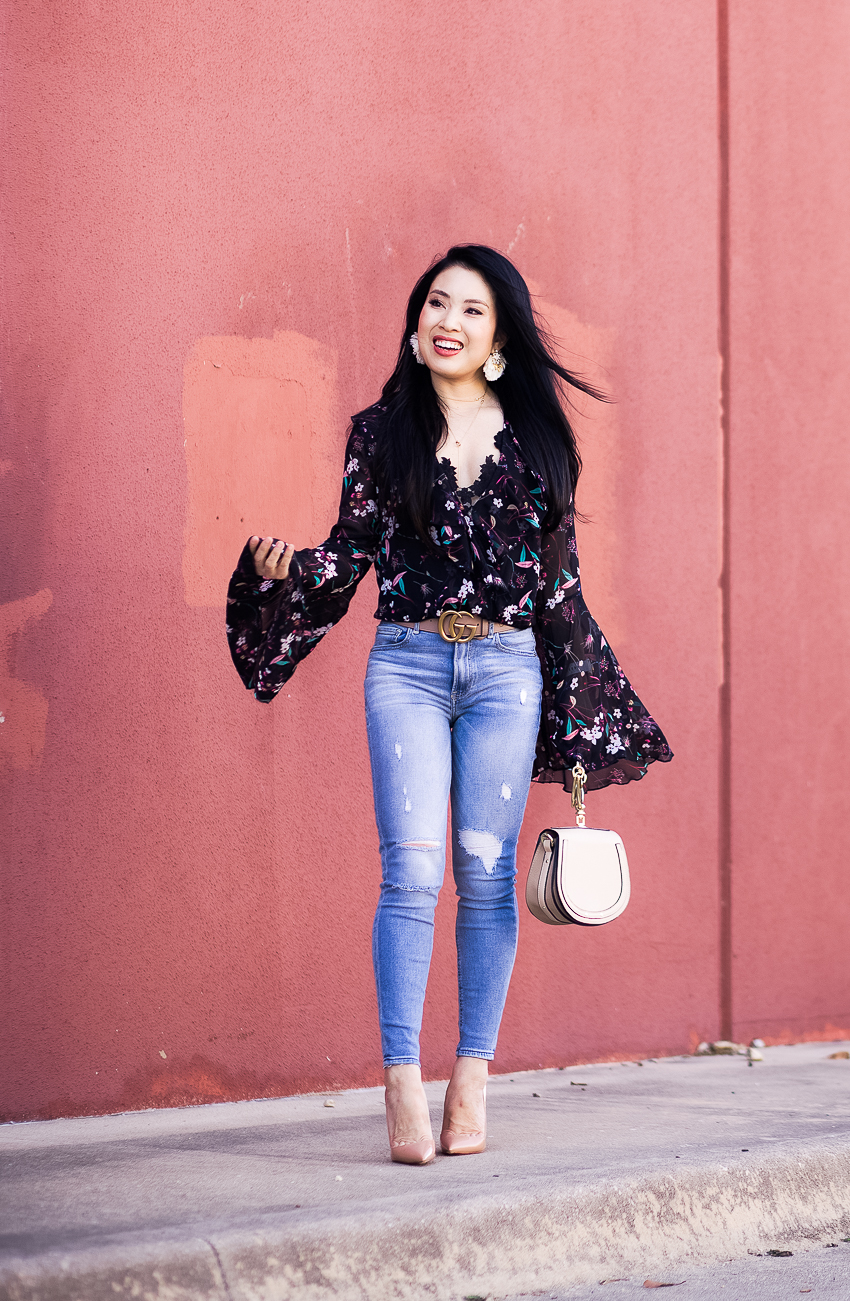 Top: SheIn Floral Bodysuit (XS)
worn over Express Crochet Bodysuit (XSP / TTS)
Bottom: Charlotte Russe Refuge Skinny Jeans (0) – cuffed under (similar)
Belt: Gucci Double G (75)
Shoes: Christian Louboutin ‘So Kate’ (36 / size up) – (similar under $100)
Bag: Amazon Ring Handle Bag
Earrings: Katie Kime ‘Gold Coast’ (similar)
Hair Extensions: 20″, 200g
Hello and happy Monday! It’s back to the grind again and I’m slowly getting back into the rhythm after enjoying an extra long holiday week. Today’s post is all about clip-in hair extensions and if you’re like me, there is just something so glamorous when you have long luscious hair! I recently had the chance to try out a set of hair extensions and let’s just say, I am seriously addicted. This is actually the third time that I’ve purchased clip-in hair extensions and I finally figured out what it is that I like when it comes to more hair. 😁 I’m super excited to share a bit of my story (and lessons learned!) so keep reading for my clip-in hair extensions tips!
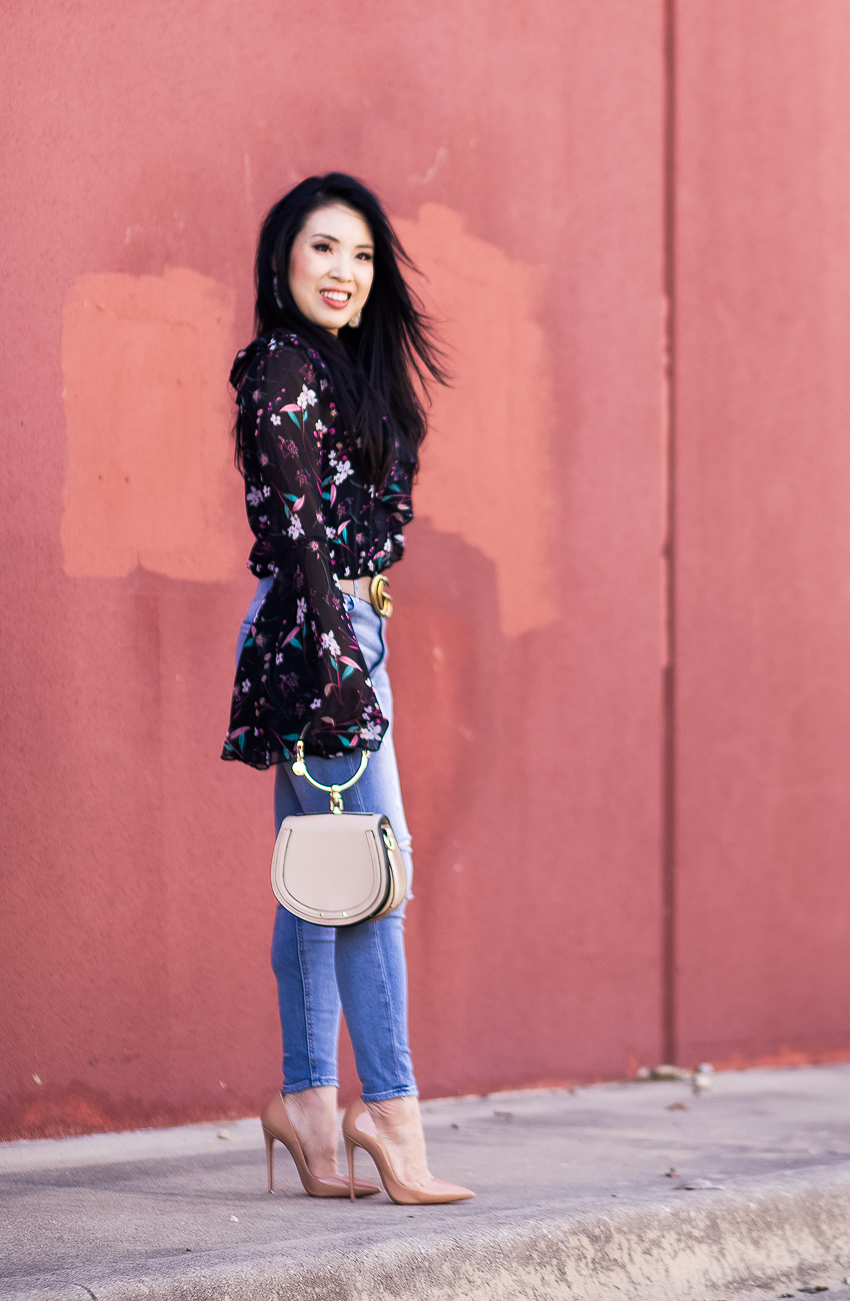
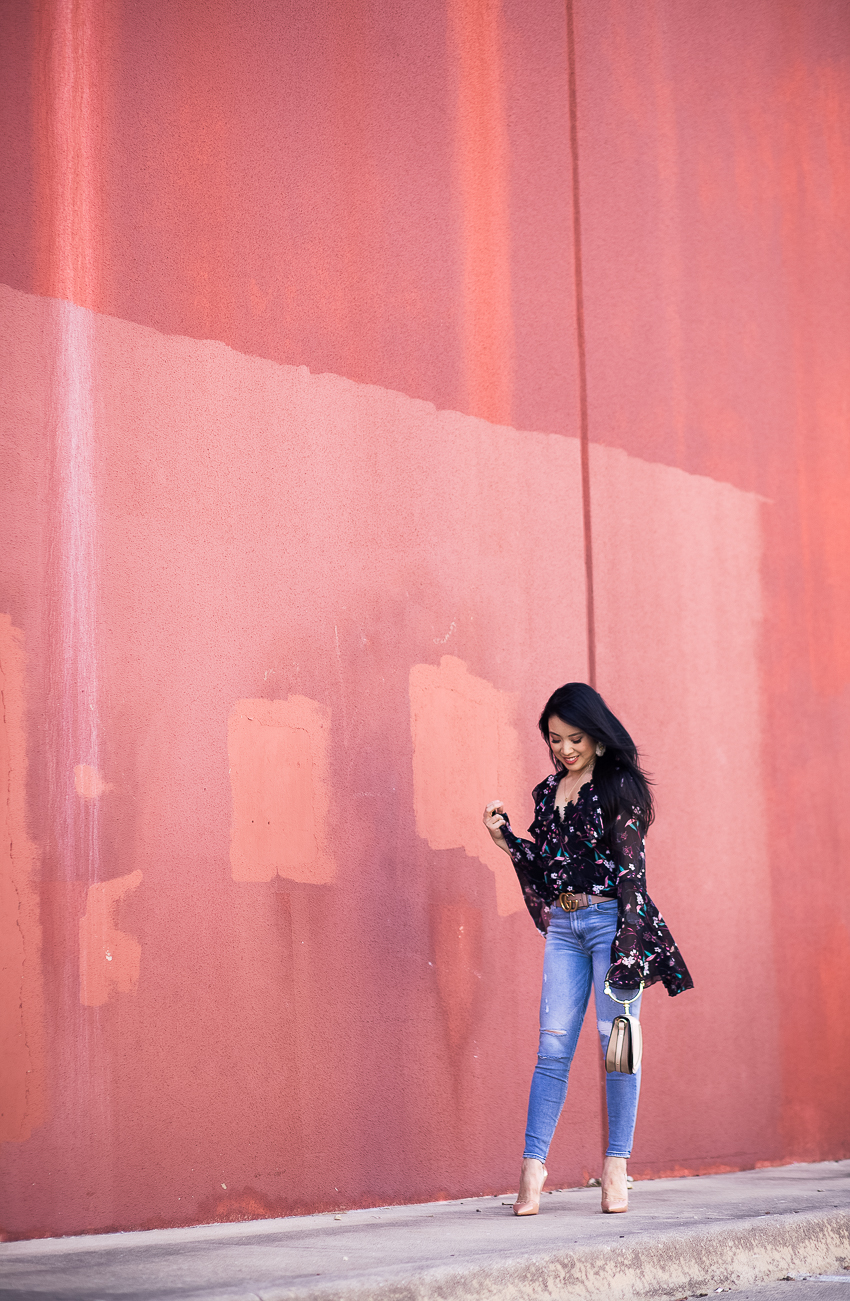
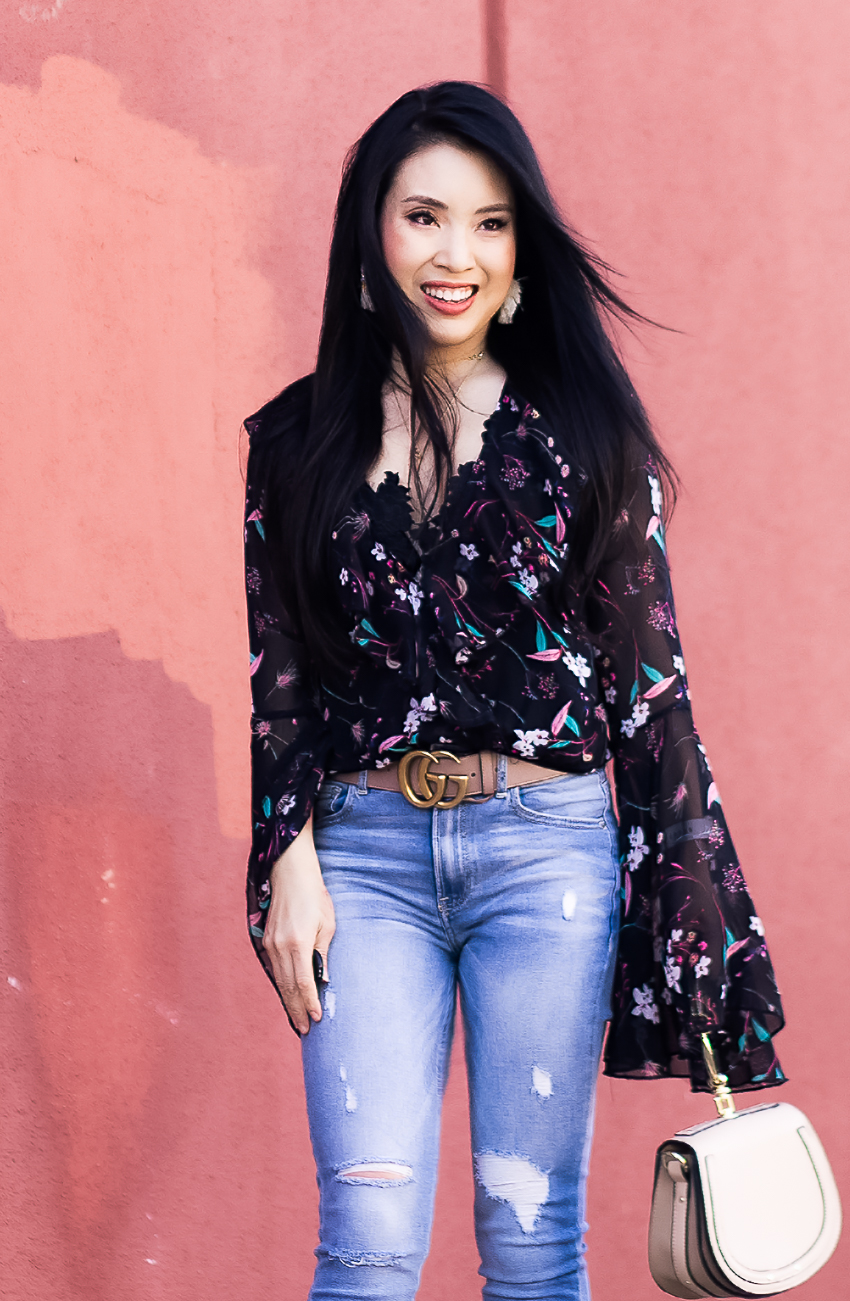
TIP 1: KNOW WHAT KIND OF CLIP-IN HAIR EXTENSION TO GET
When I started doing my research into clip-in hair extensions, I was completely astounded as just how much variety there was available. The simplest distinction is between human hair extensions and synthetic hair extensions — thankfully the choice is pretty obvious here as you want to choose human hair that looks, feels, and styles just like your own hair. I know years ago, I had personally purchased cheap hair clip-ins that were synthetic just to experiment, and honestly, it just looked fake — the hair was unnaturally shiny and had a wavy / coarse texture that just didn’t blend with my own hair. With real human hair extensions, you then want to make sure it’s labeled as Human hair. Human hair is the highest quality of human hair and most importantly, all the cuticles are kept intact — this ensures that the hair flows in a single direction and isn’t as likely to tangle and knot!
TIP 2: GET THE EXTENSION TYPE THAT’S RIGHT FOR YOUR HAIR
Clip-in, tape-in, beaded, bonded… Even more choices come when you decide how to want your hair extensions placed in your hair. Some have minimal risk when it comes to damaging your own hair and others can run a higher risk. The simplest method is with clip-ins and if you’re new to the hair extension game, this is the best way to just give it a try! Each weft of hair comes with a set of clips and it’s as easy as taking a section of hair where you’d like to place the extension, teasing it a bit to give it some grip, and then just clipping the extension on top. Because clip-in hair extensions are generally such a temporary addition, the potential damage is that regard is fairly minimal and a great option even if you have fine hair like me!
TIP 3: KNOW THE LOOK YOU’RE GOING FOR
The mistake I made the first time I purchased extensions was just going for the longest length — 24″. I had researched extension lengths on others online and thought, yes, I want the longest hair that’s available and of course, in the thickest weight option as well! The end result was hair that completely overpowered my petite frame and honestly, just didn’t look real. This most recent instance, I instead took a more calculated approach and picked a length that was actually about the same length as my existing hair and in the lighter weight selection. The result was so much more natural and it looked like my hair, just better!
TIP 4: CONSIDER GETTING THEM PROFESSIONALLY INSTALLED
The two previous instances when I’ve messed with hair extensions, I just watched a couple YouTube videos and did it on my own, figuring it was good enough. this last time though, I was actually due for a haircut anyways when my clip-in hair extensions order came in so I brought them with me to my appointment to have them professionally clipped in. Best. Decision. Ever. There is so much that a professional knows when it comes to hair that seriously it was a night and day difference. Not only did my hairstylist know the best placement for each hair extension weft, but just the way in which it was clipped in felt so much more secure than when I did it on my own! My amateur DIY installation has always resulted in my head feeling weighed down by hair but it really was a different story when I had my hairstylist work her magic. Plus, you have the benefit of having the extensions cut along with your own hair and blended to really make it look natural.
TIP 5: PROLONG YOUR GOOD HAIR DAY
What I didn’t realize until I went to my hair stylist with my extensions is that you can wear your hair extensions for multiple days! After I had my hair stylist install my clip-in hair extensions, I actually rocked the style without needing to even touch up for a solid 5 days. I personally found that hair extensions keep curled styles so much better than my own hair and so I actually could wake up looking pretty presentable! I actually even remember one day when I was running on day 3 of my clip-in hair extensions and was at a meeting when a co-worker actually remarked how my hair looked “so fabulous” at 8:00 am! 😂
TIP 6: TAKE CARE OF YOUR EXTENSIONS
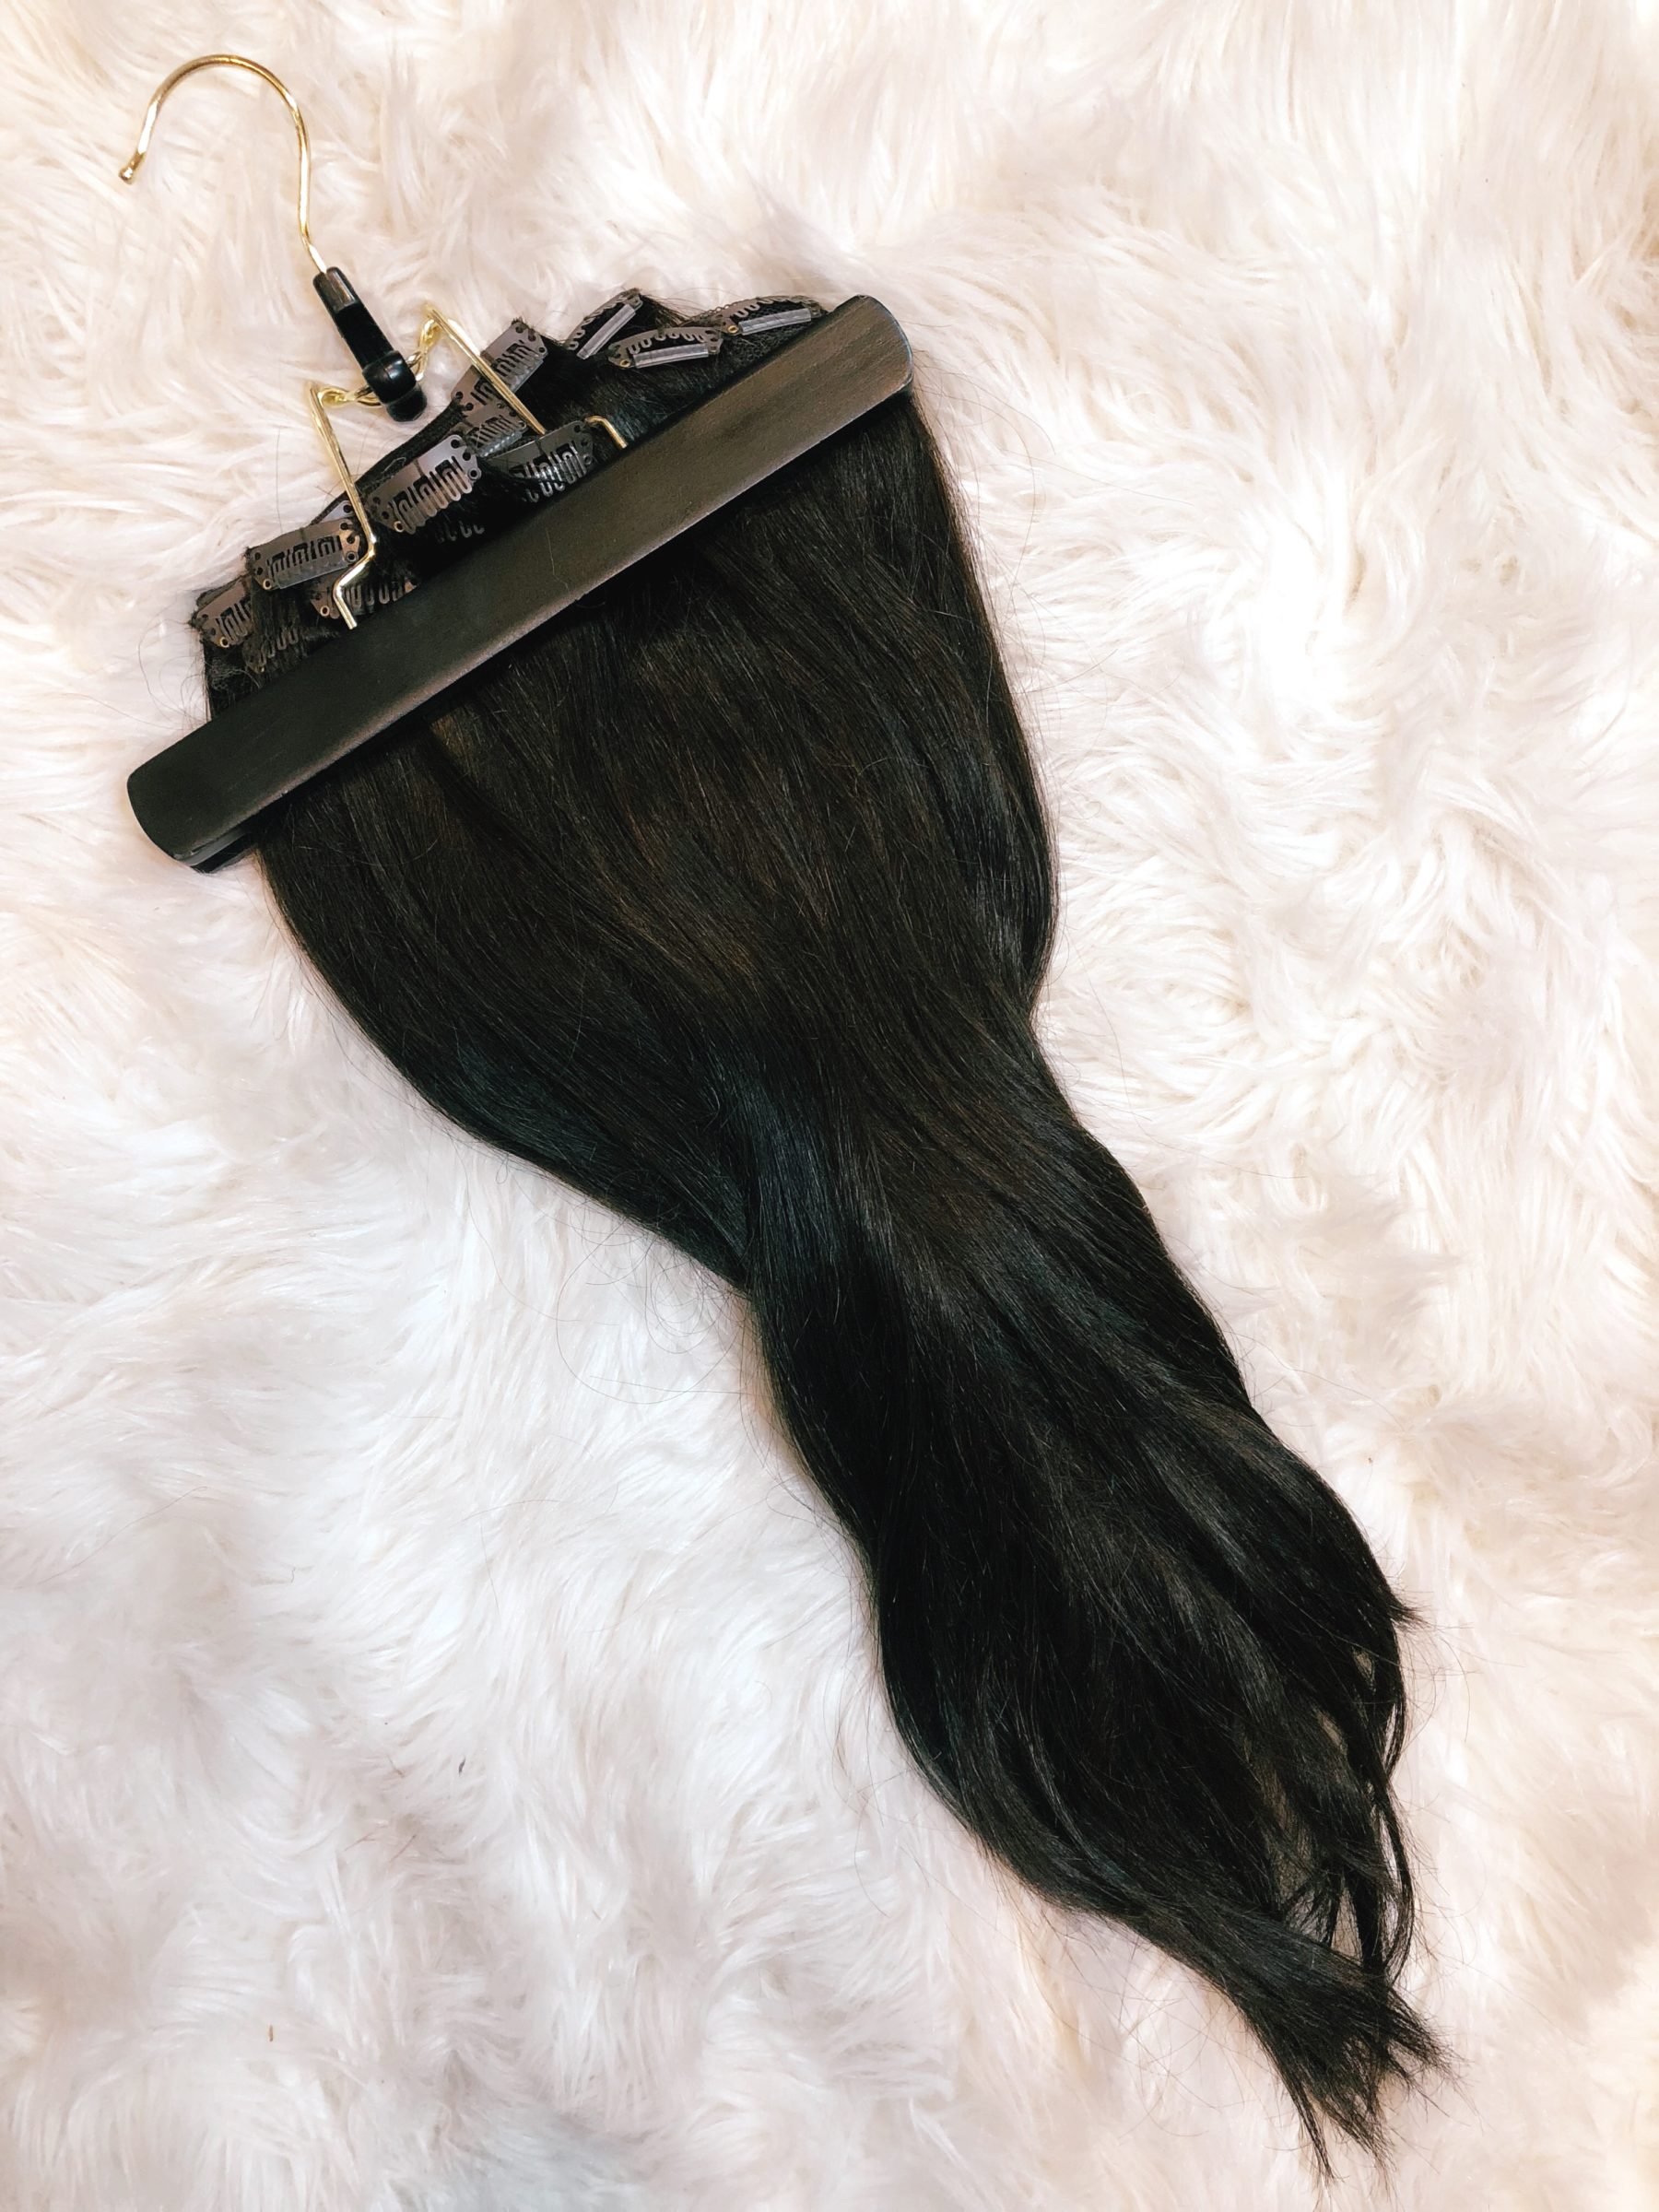
All that hair can be a mess when it comes to storing it! For my own extensions, I own a hair extension hanger as well as dust bag and cannot recommend it enough. It’s a great way to keep everything organized and tangle free. Oftentimes I will even curl my extension while it’s hanging on the hanger if my hair already has a bit of curl leftover and I can save it from additional heat damage!
I hope these tips helped and maybe inspired you to try out a set of hair extensions for yourself! There’s something about having a good hair day that just makes you feel good and trust me, hair extensions done right will definitely have you feeling all sorts of glamorous!

Leave a comment